How to create a vertical line using HTML and CSS

To create a vertical line using HTML and CSS, you can set a CSS rule for <hr> tags with the class vertical as follows:
hr.vertical {
  border: 0;
  margin: 0;
  border-left: 5px solid blue;
  height: 200px;
  float: left;
}
First, you need to normalize the default border and margin properties added by the browser.
Next, the width, style, and color of the vertical line is set using the shorthand border-left property, while the height property will set the height of the vertical line.
The float:left property is added so that the vertical line can be displayed on the left side of another element.
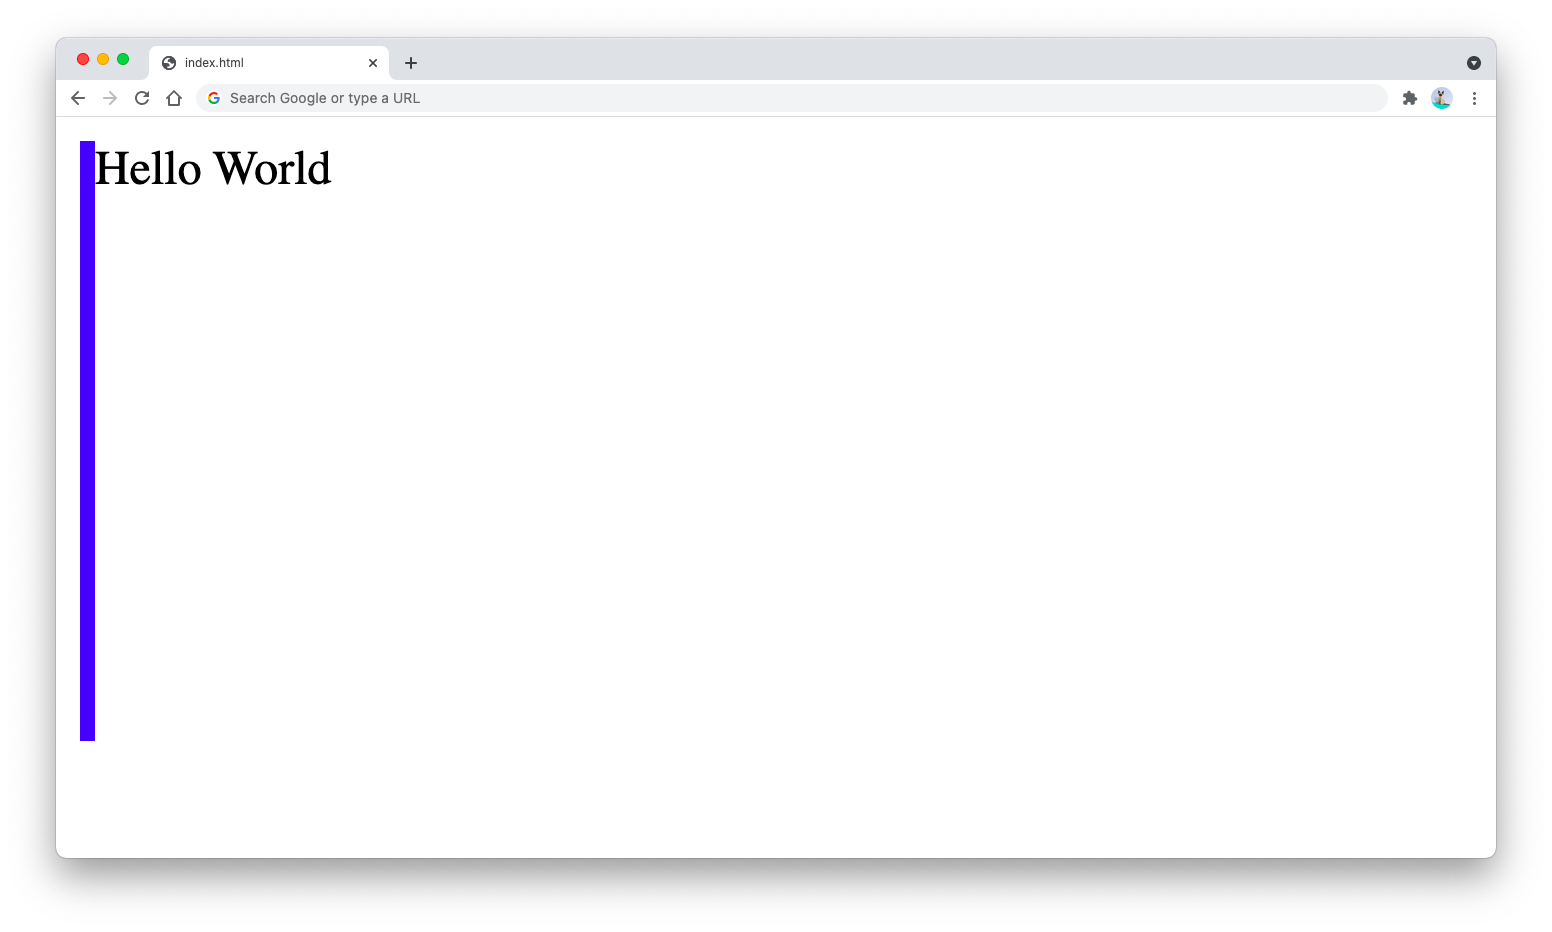
The following HTML markup:
<body>
  <hr class="vertical" />
  <p>Hello World</p>
</body>
Will produce the following output:
Alternatively, you can also remove the <hr> tag and create a vertical line by adding a border-left or border-right property to any element that you want to have a vertical line.
For example, here’s how to add a vertical line on the right side of the <p> tag:
p.vertical-right {
  border-right: 5px solid blue;
  height: 50px;
}
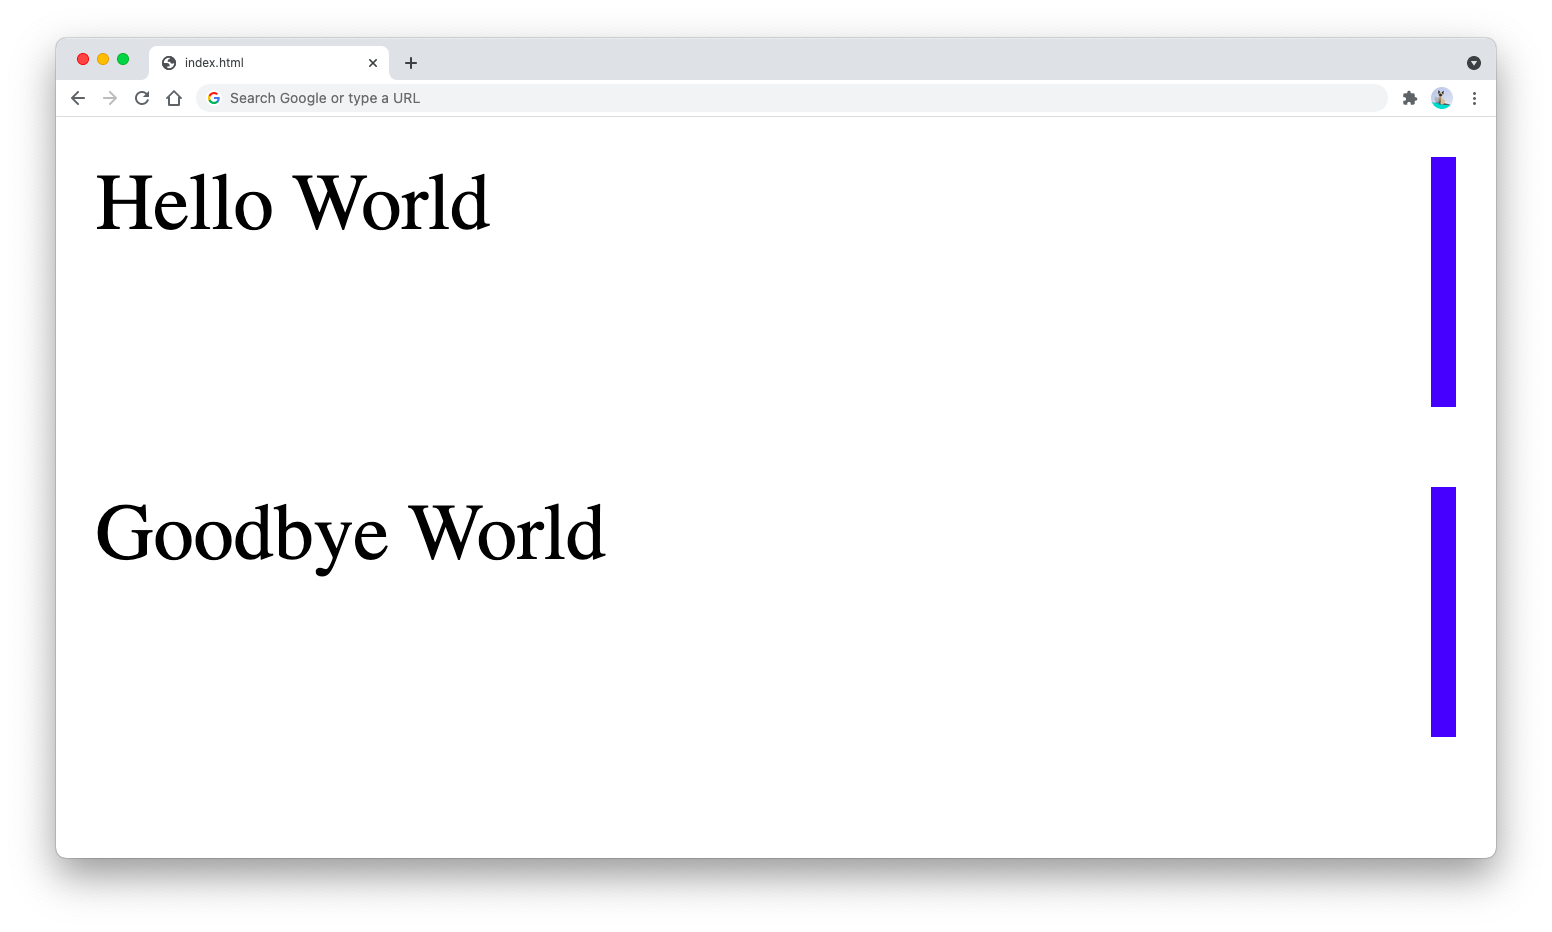
The example below:
<body>
  <p class="vertical-right">Hello World</p>
  <p class="vertical-right">Goodbye World</p>
</body>
Will produce the following output:
You will need to adjust the CSS style depending on the context and where you want to place the vertical line. But a vertical line can always be created using the <hr> tag.
If you need to add the vertical line on the side of another element, you can use either the border-left or border-right property with the attached element.