How to create a horizontal list using HTML

By default, the HTML <ul> list will be rendered vertically with one list item on top of another.
When you need to create a list that expands horizontally, you need to add the display:inline style to the <li> elements of the list.
The following example code:
<body>
  <h2>Welcome to my website</h2>
  <ul>
    <li style="display:inline">Home</li>
    <li style="display:inline">About</li>
    <li style="display:inline">Blog</li>
  </ul>
</body>
Will produce the following output:
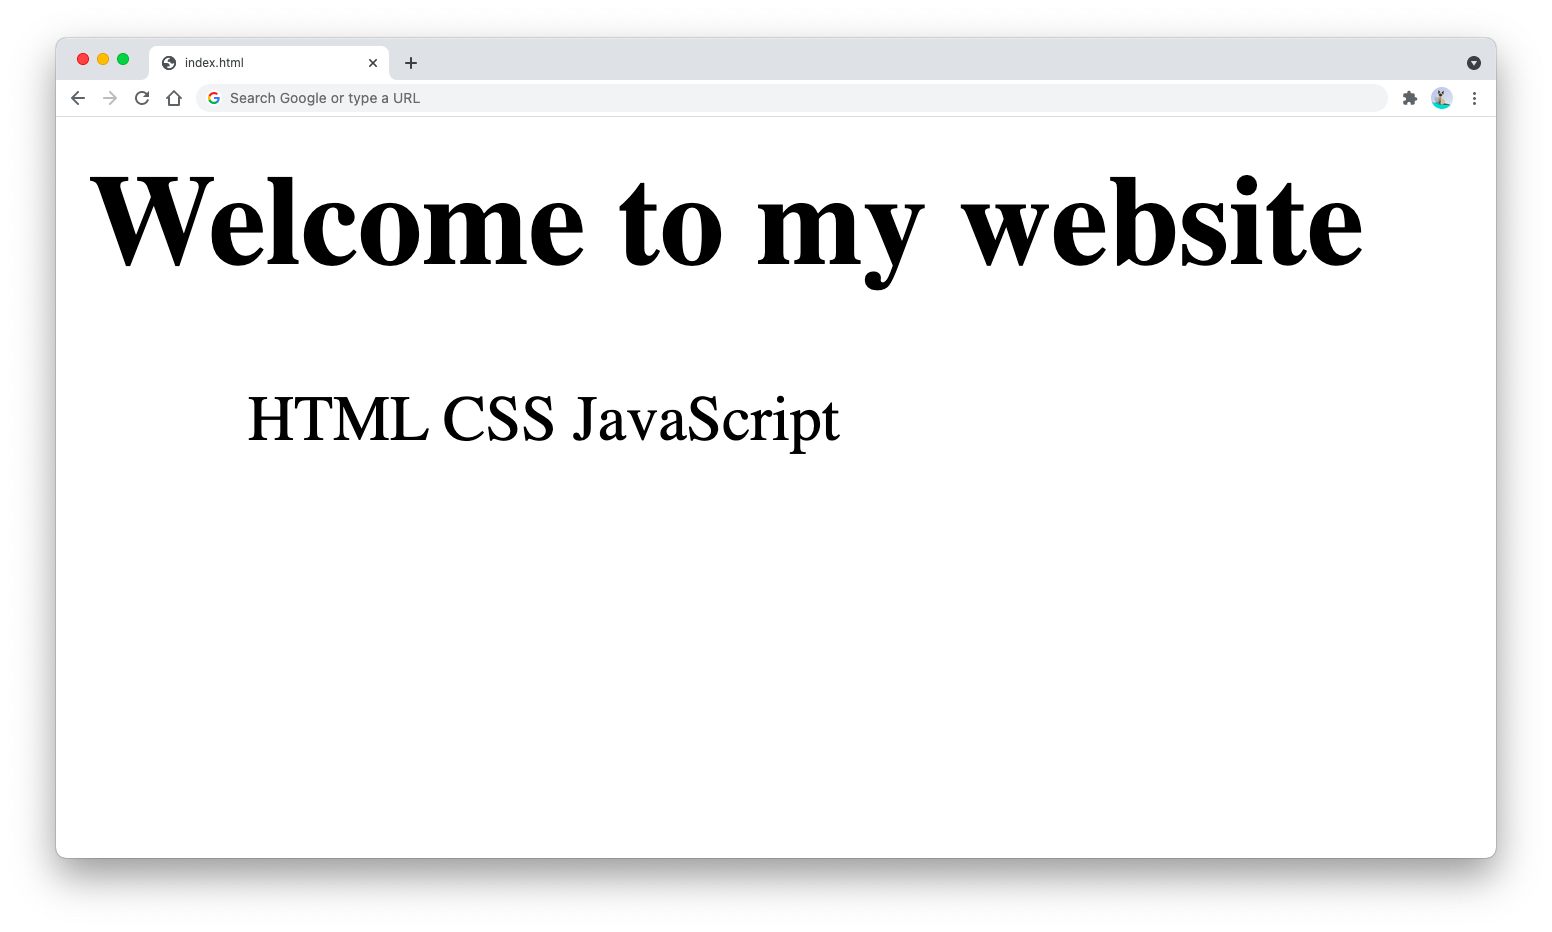
You may also want to remove the default 40px padding style for the <ul> tag to let the list elements take the full width of the page:
<body>
  <h2>Welcome to my website</h2>
  <ul style="padding-left:0px">
    <li style="display:inline">Home</li>
    <li style="display:inline">About</li>
    <li style="display:inline">Blog</li>
  </ul>
</body>
A horizontal list is commonly used for creating a website’s navigation menu component. If you want to create a reusable navigation component, then you need to separate the CSS from the HTML document.
The following CSS code style will transform your <ul> element into a navigation bar component:
ul.nav {
  padding-left: 0px;
  background-color: #3D99CE;
  text-align: center;
}
ul.nav > li {
  display: inline-block;
  padding: 10px 20px;
}
ul.nav > li:hover {
  background-color: #2779BF;
}
ul.nav > li > a {
  color: white;
  text-decoration: none;
}
To use the CSS style above, you only need to add the nav class to the <ul> tag:
<h2>Welcome to my website</h2>
<ul class="nav">
  <li><a href="/home">Home</a></li>
  <li><a href="/home">About</a></li>
  <li><a href="/blog">Blog</a></li>
</ul>
The HTML output will be as shown below:
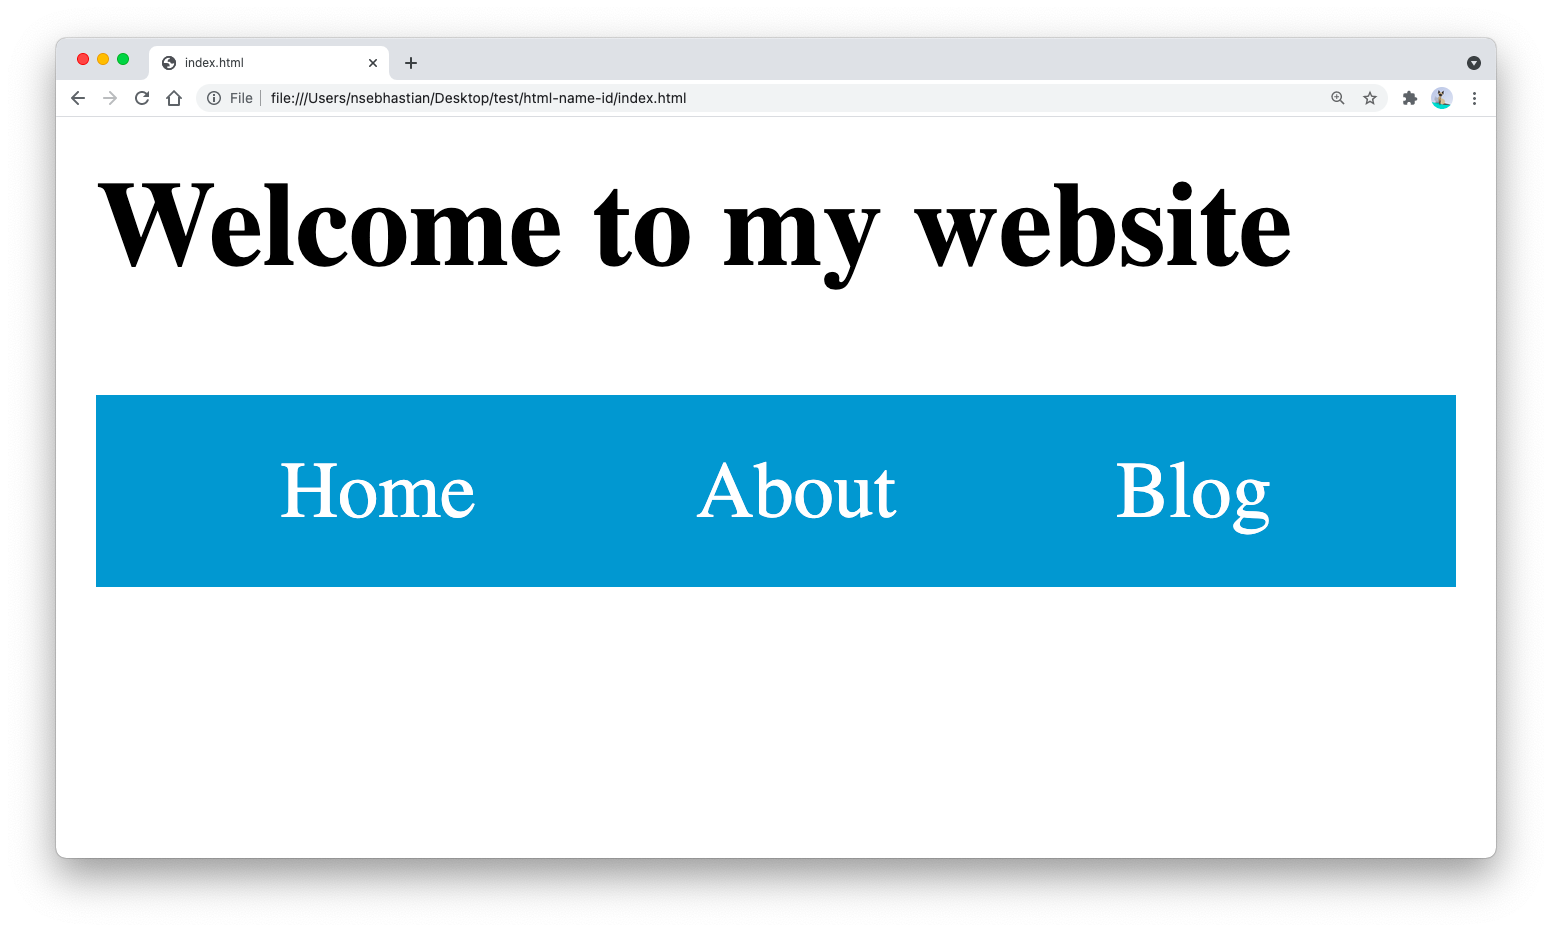
And that’s how you can create a horizontal list using HTML and CSS 😉